Glitter slime is beautiful and fun to play with. But any glitter spills can lead to major clean up. Fortunately there’s an easy, less messy option with this glitter glue slime recipe. This is also an easy clean slime recipe because it does not leave residue behind like other slimes.
This post contains affiliate links. If you buy anything from Amazon using one of these links, we get a small commission. But it doesn’t cost you anything extra. Thanks for supporting our family business!
GLITTER GLUE SLIME INGREDIENTS AND SUPPLIES
ELMER’S GLITTER GLUE:
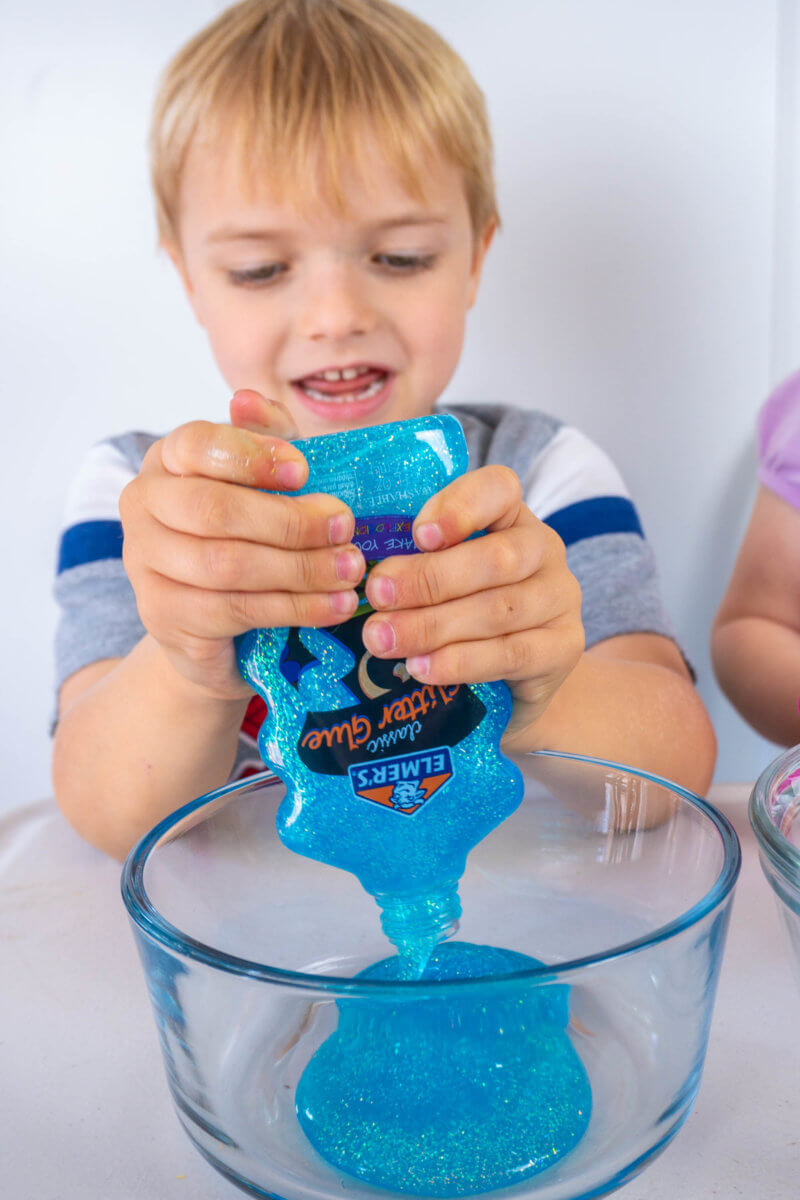
The first and most important ingredient for making glitter glue slime, is a bottle of Elmer Glitter Glue.
Or THREE bottles of Elmer’s Glitter Glue!
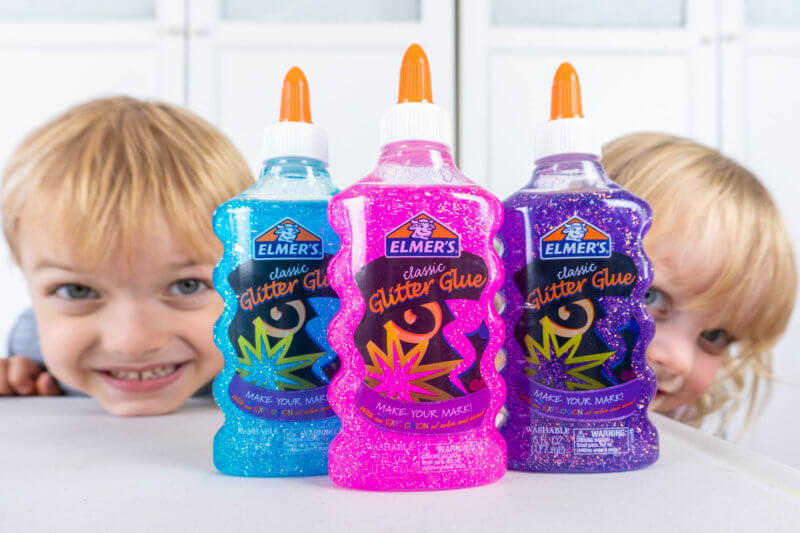
These multi-colored glitter glues are clear glue dyed in different colors. Each color contains a lovely iridescent glitter that is already mixed in.
That means no risk of getting glitter ALL OVER your house!
I’ve found glitter glue in black, blue, gold, pink, green, orange, purple, red, silver, and yellow. Perfect for a rainbow of glitter glue slime!
On Amazon you can buy 3 packs of glitter glue in a single color, or a variety.
LIQUID STARCH:
The only other ingredient you need for glitter glue slime is some liquid starch. This is your activator for the slime.
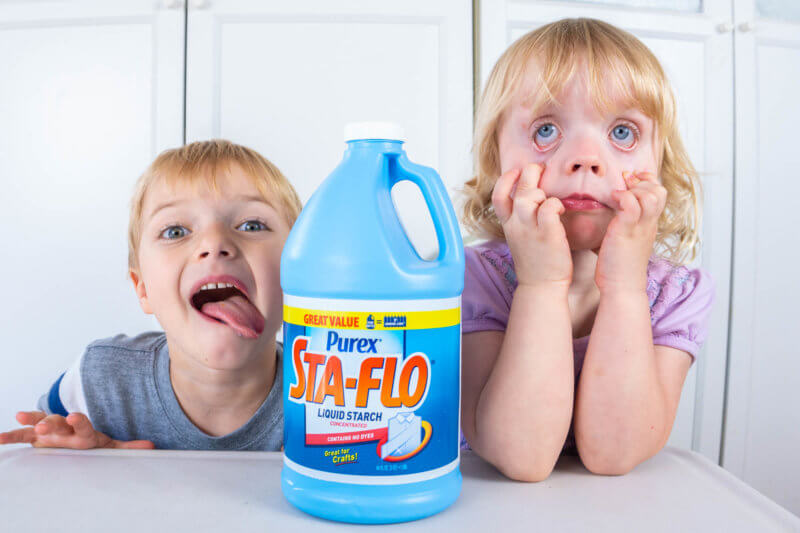
You can also use boric acid with warm water (Check out our BORAX SLIME RECIPE), or contact lens solution, as an activator. But we’ve found that liquid starch is the cheapest and easiest to use.
We buy the two pack of liquid starch on Amazon.
STIR STICKS:
While not necessary, we really like using craft sticks to stir our slime. They’re affordable, disposable, and easy to stir with. You can get craft sticks on Amazon as well.
GLITTER GLUE SLIME STEP BY STEP INSTRUCTIONS
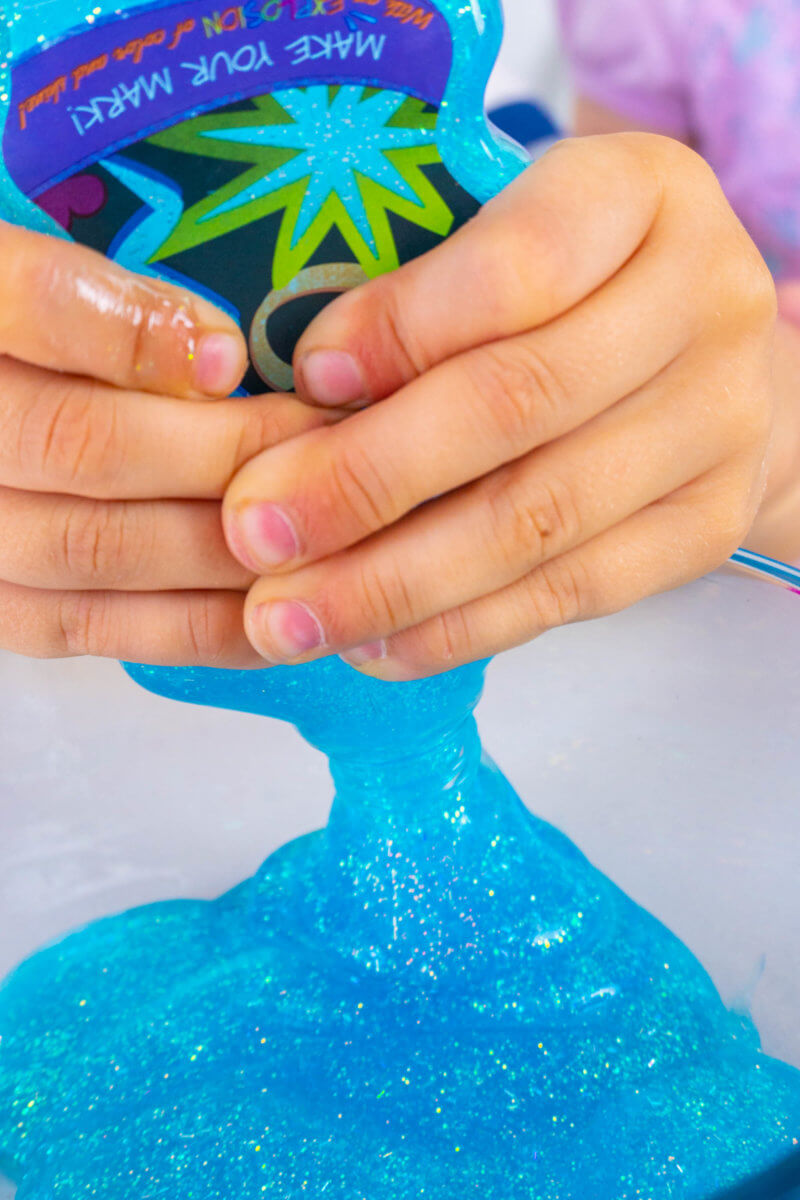
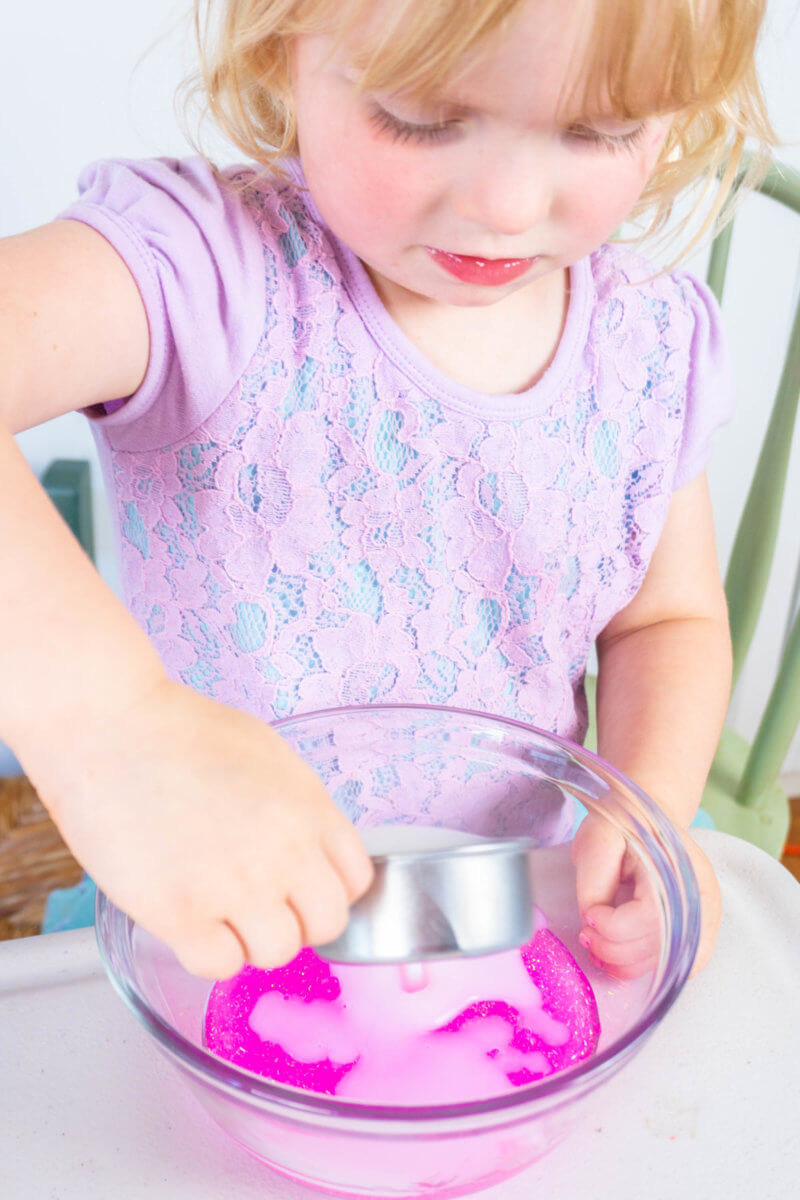
- Start by squeezing a bottle of glitter glue into a bowl. You can also use big plastic cups if you want even easier clean up!

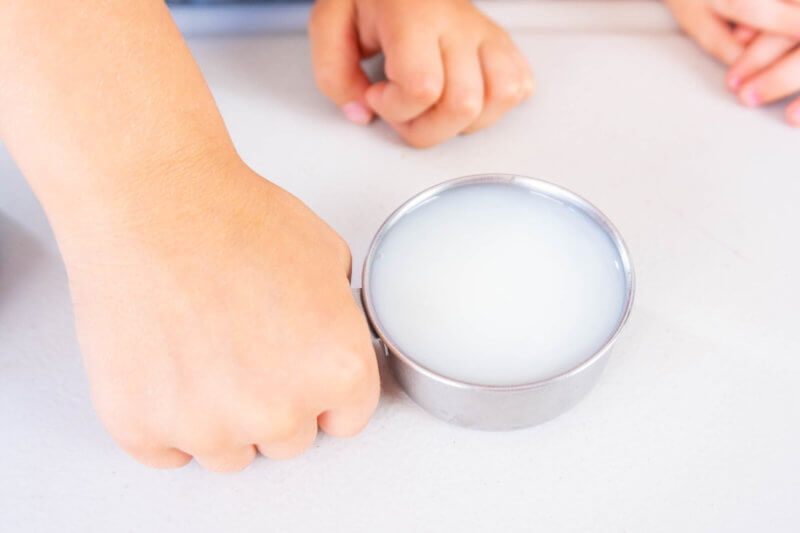
- Next you’ll need to add the liquid starch. We use 1/3 cup of liquid starch for each bottle of glitter glue.

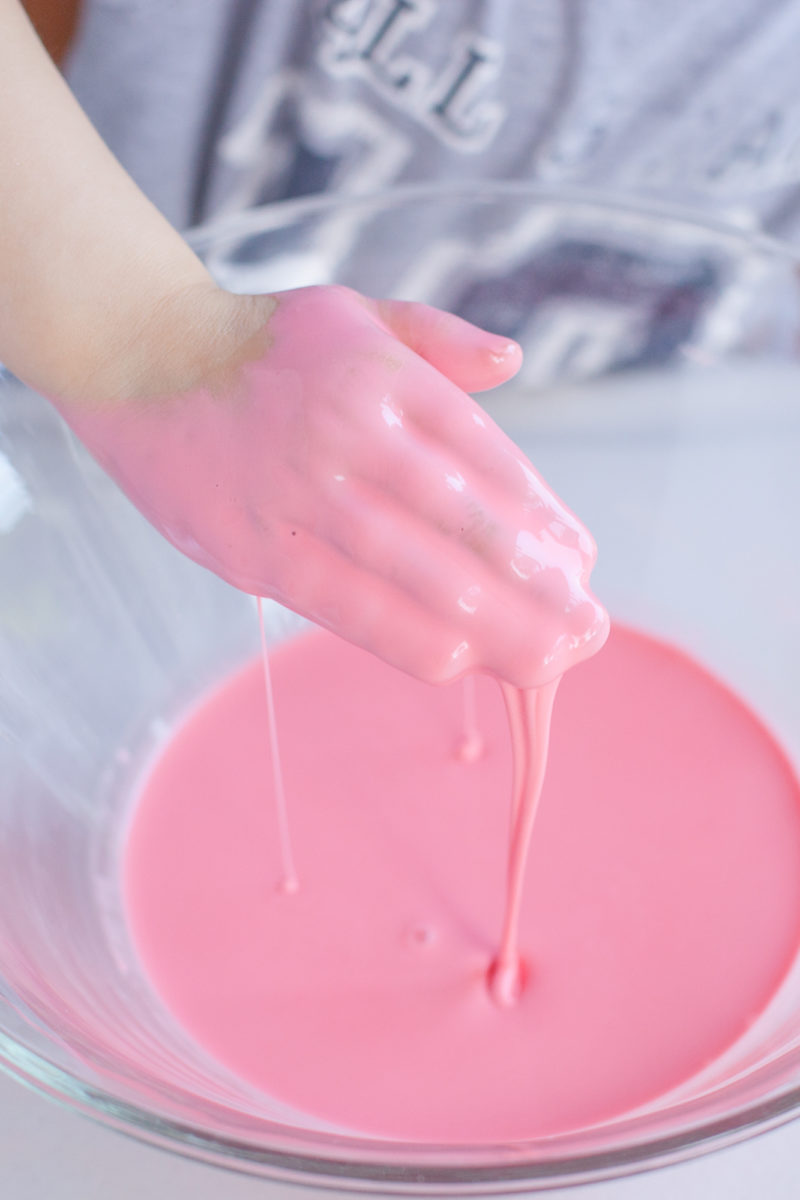
- Use the craft stick to stir the glitter glue slime until it seems like it’s not mixing any more. Then it’s hands on time!
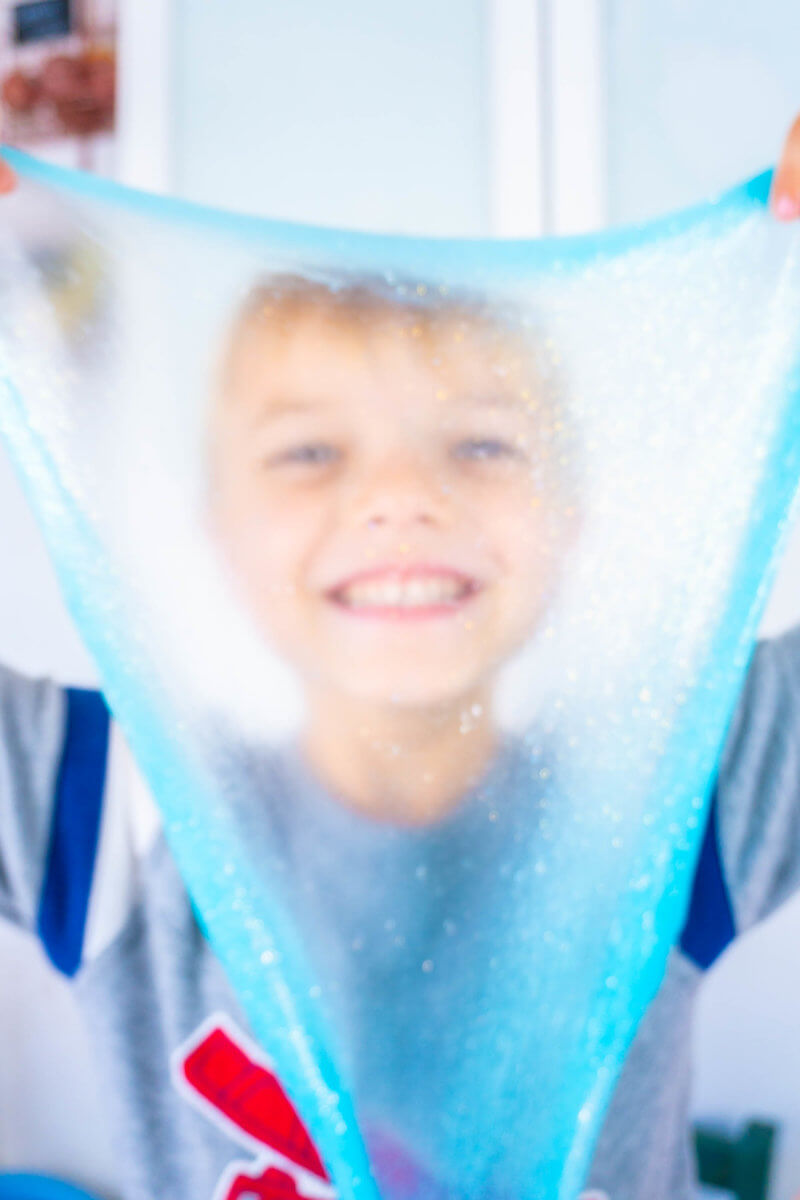
- At this point you need to pull the glitter glue slime out and use your hands to stretch, fold, and knead it. It may start out sticky, but as you keep massaging it the liquid starch works its magic.
- If you are making just one color of glitter glue slime, you are now good to go!
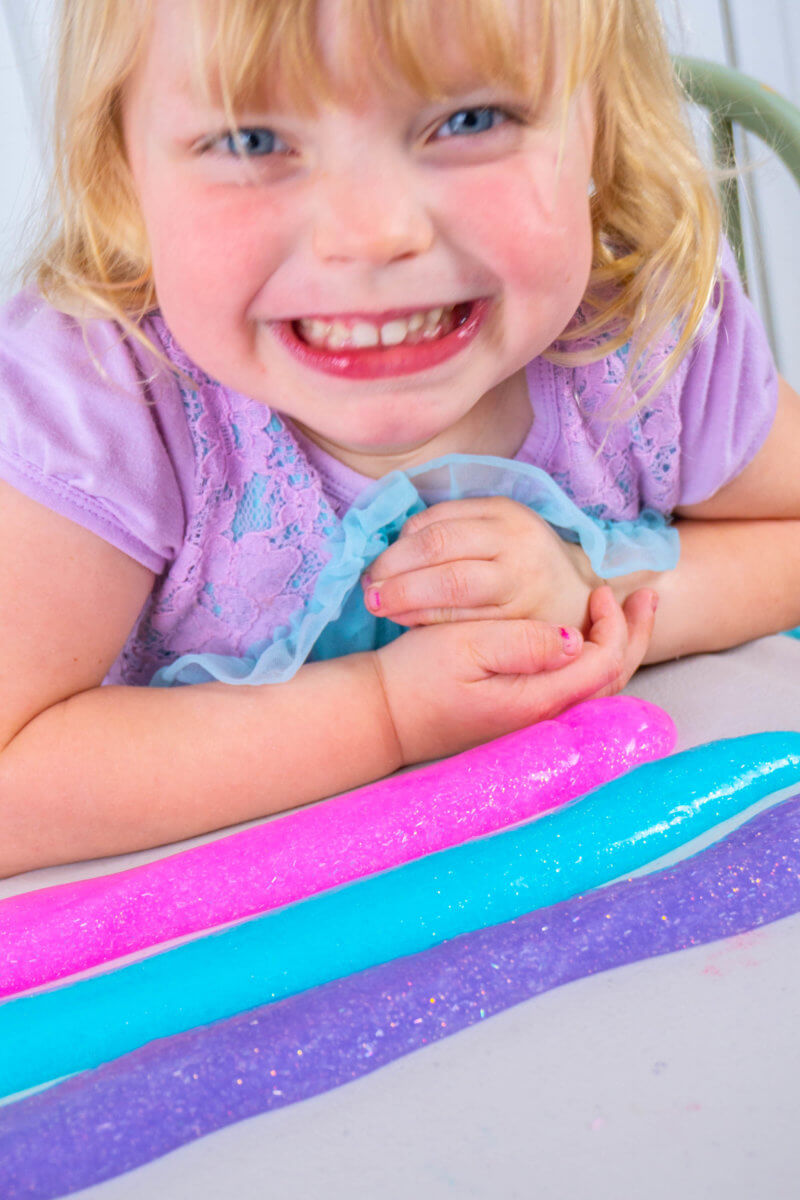
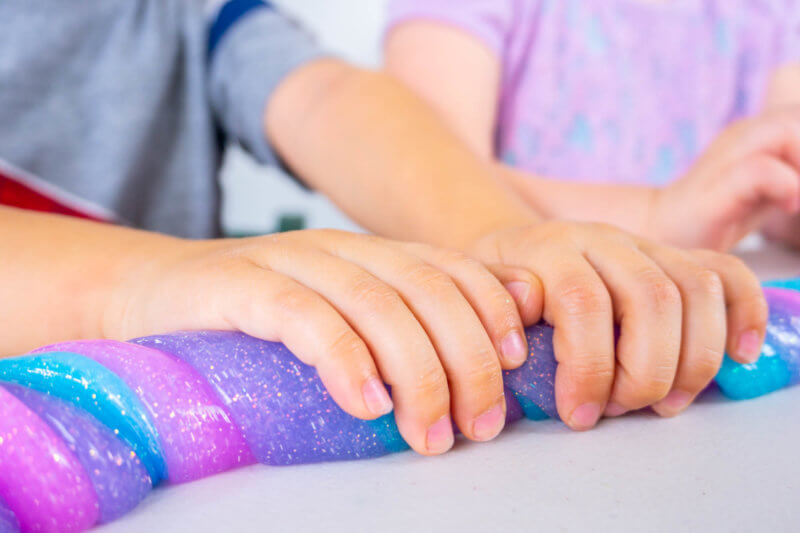
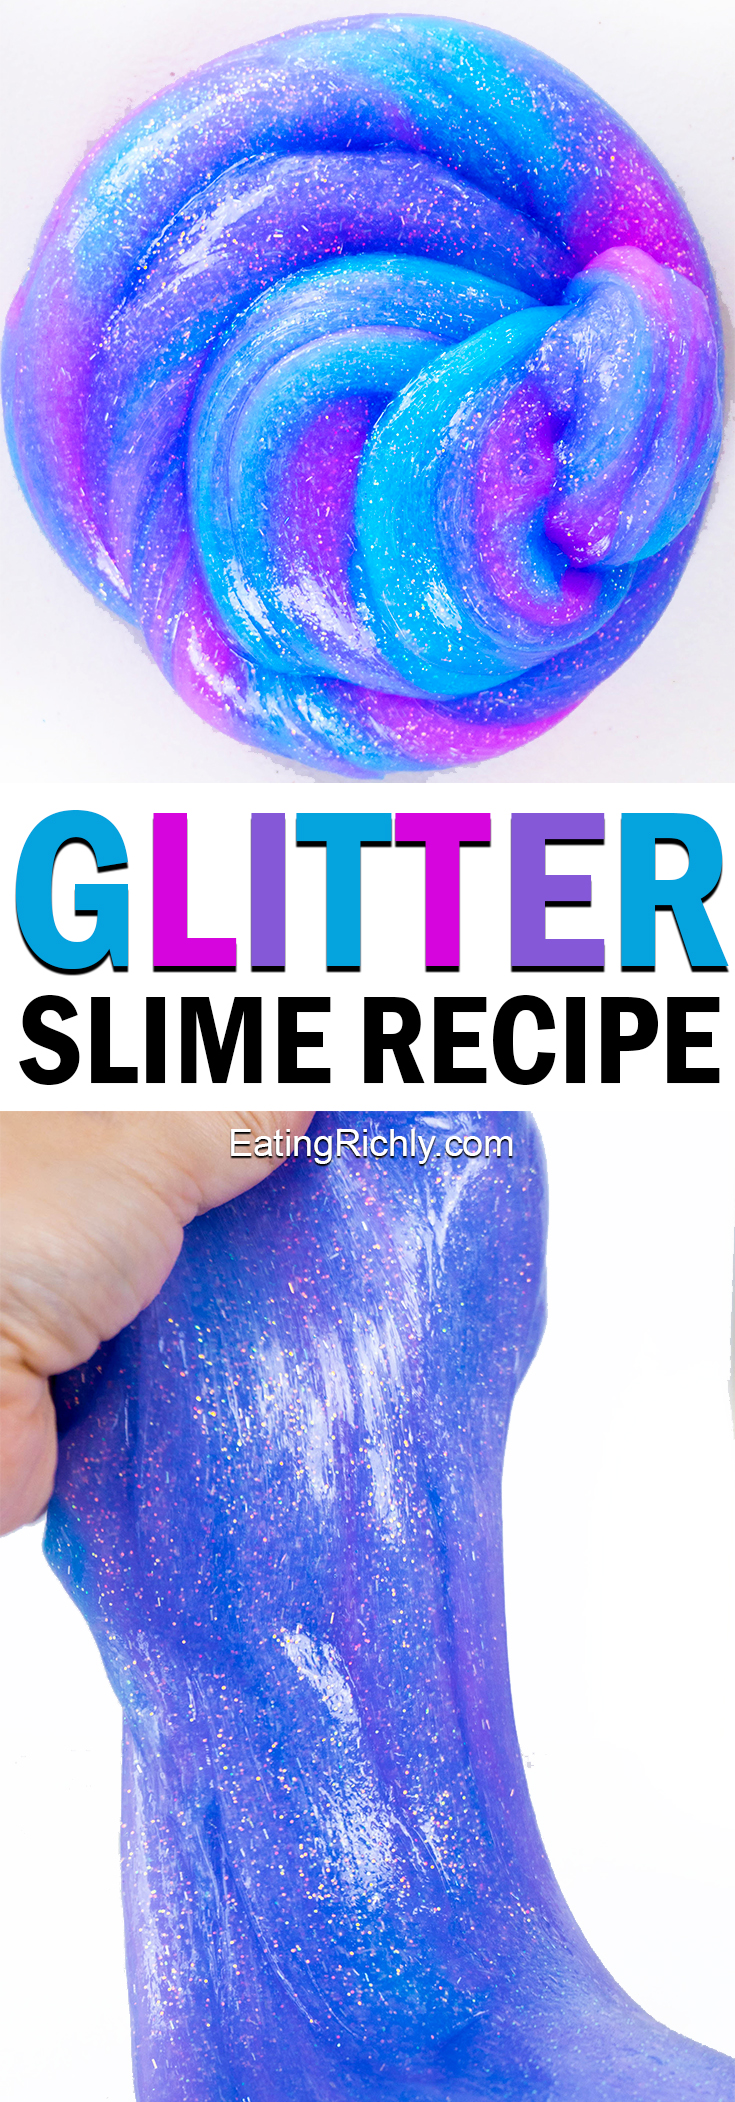
- If you are making multiple colors, repeat steps 1-4 for each color. Then stretch each color into a rope and line them up next to each other.
- Now you can twist the colors together to make colorful glitter glue slime.
- Stretch, smush it, pile it up. Just have fun!
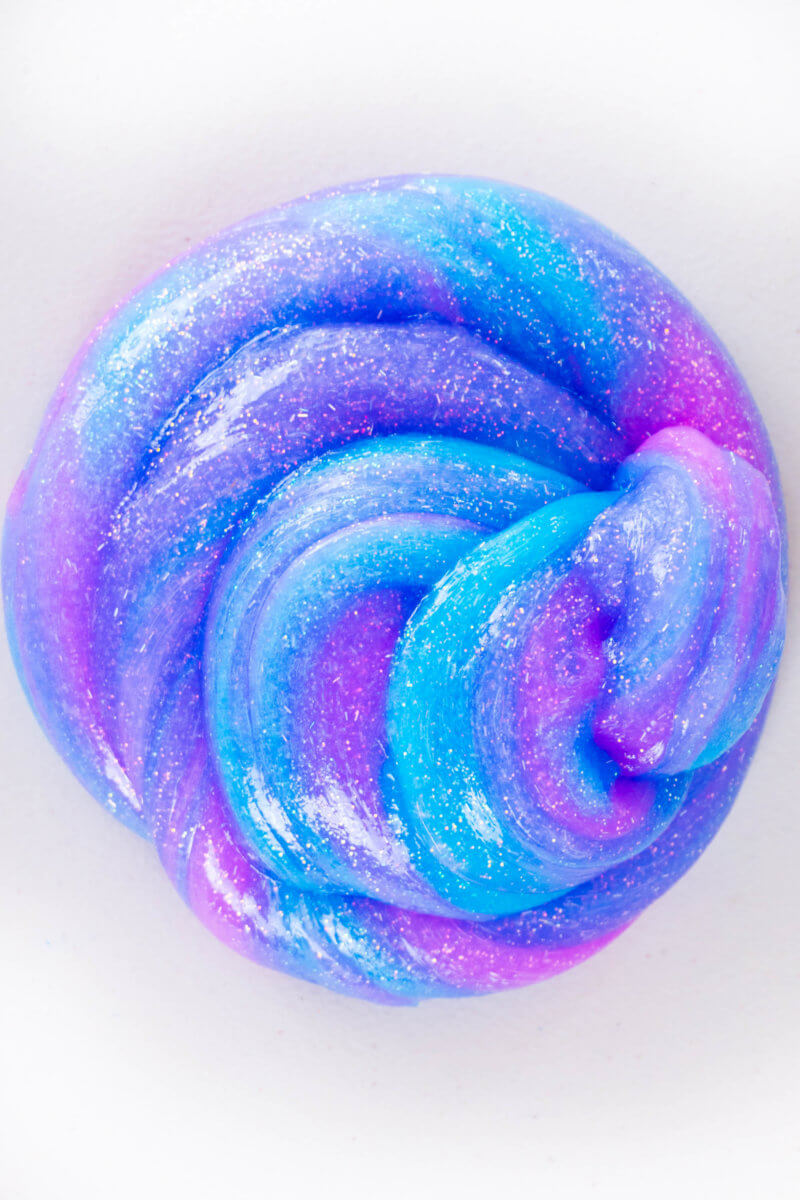
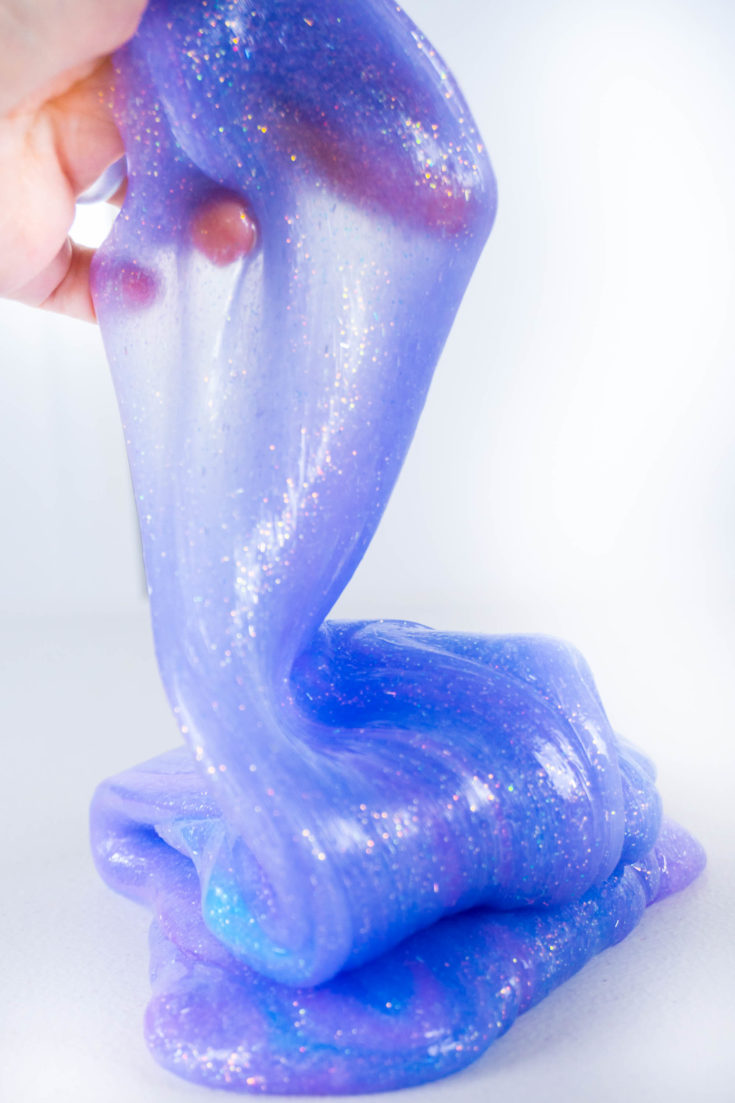
- Eventually all the colors will blend together. Since we used pink, purple, and blue, we got a beautiful lavender color in the end.


TIPS FOR MAKING GLITTER GLUE SLIME
This glitter glue slime recipe is pretty straightforward. But here are a couple tips for making sure it turns out perfectly every time.
Make sure to use enough liquid starch.
As I said in the recipe, we use 1/3 cup of liquid starch for each 6 ounce bottle of glitter glue. After massaging your glitter glue slime for a few minutes, it should be stretchy but not leave sticky residue.
If it is still sticky, you need a bit more liquid starch. I usually just put it back in the bowl and rub it around to pick up whatever is left in there.
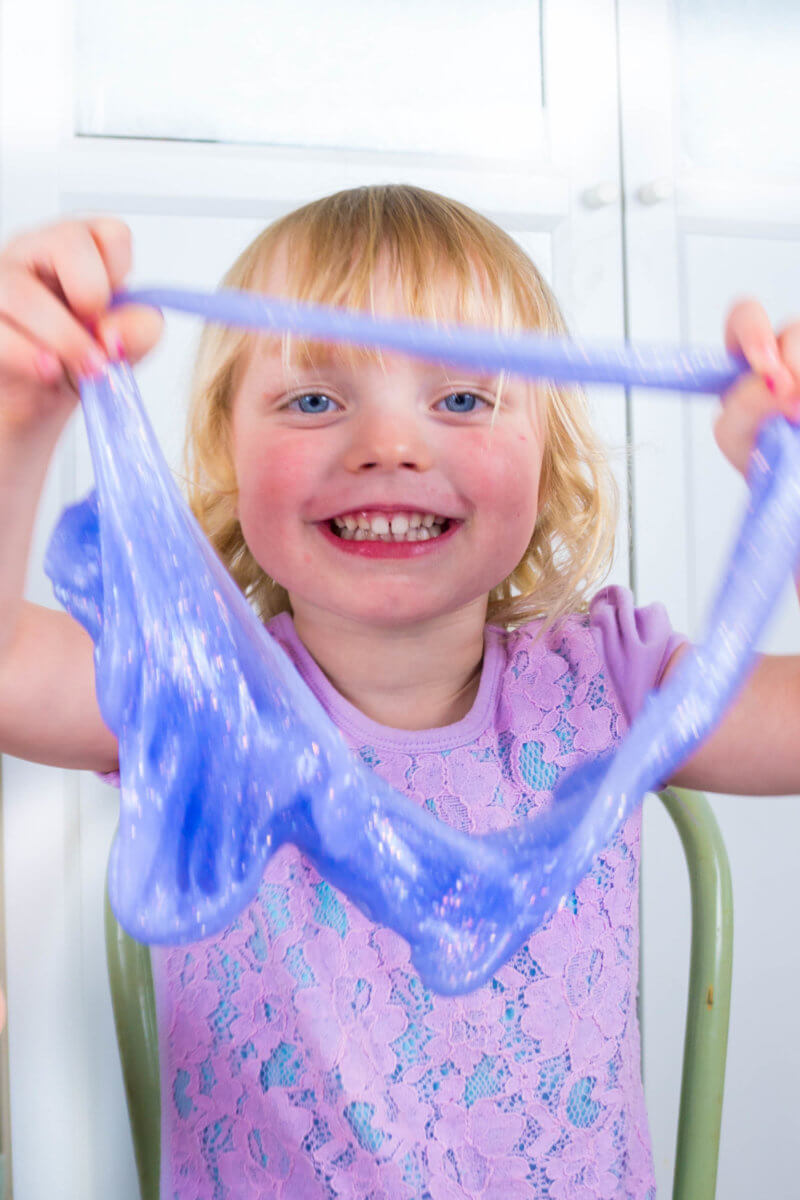
The slime should be able to stretch slowly, but also tear quickly without sticking to you.

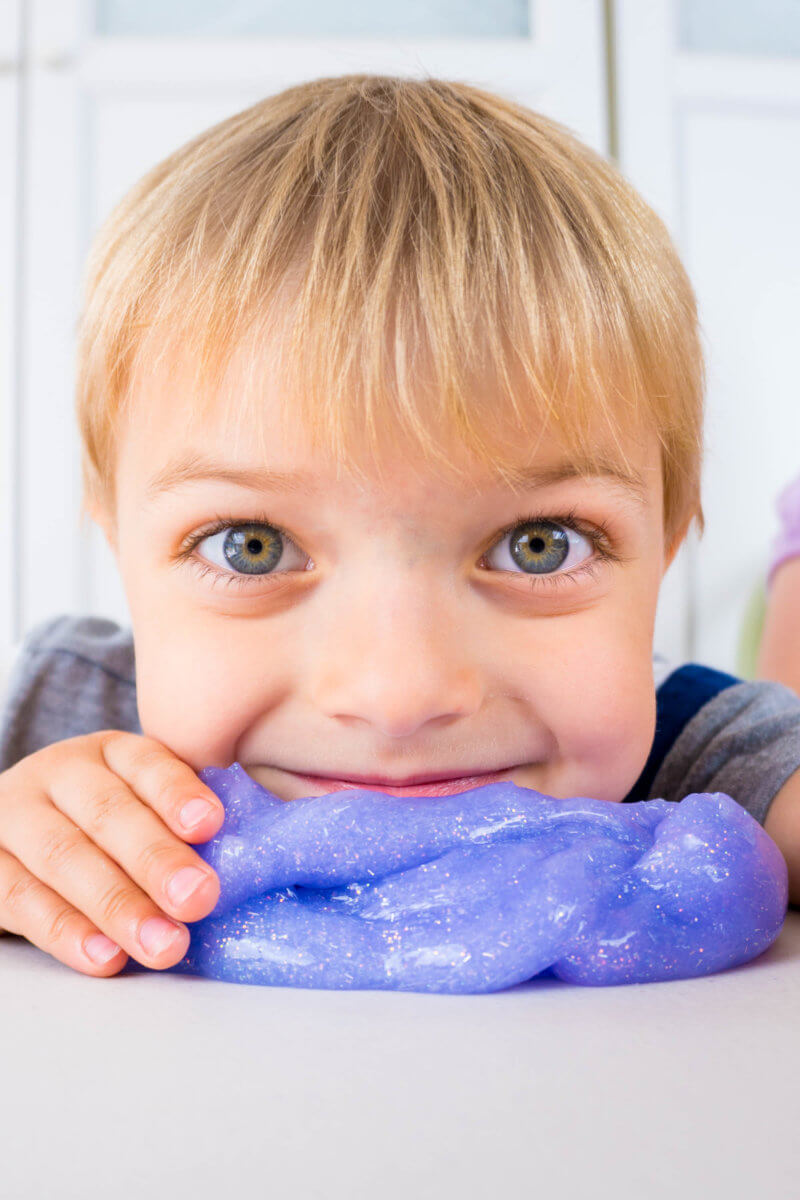
My kids loved leaving imprints of their hands, toes, and even their chins in the slime!
Don’t be afraid to knead it by hand.
When you first pull the glitter glue slime out of the bowl, it will feel slimy and/or sticky.

Don’t worry! Just keep kneading it and soon you’ll have a nice smooth texture. Once the texture of the slime is right, you’ll find your hands aren’t covered in residue anymore either.
MORE FUN SLIME RECIPES
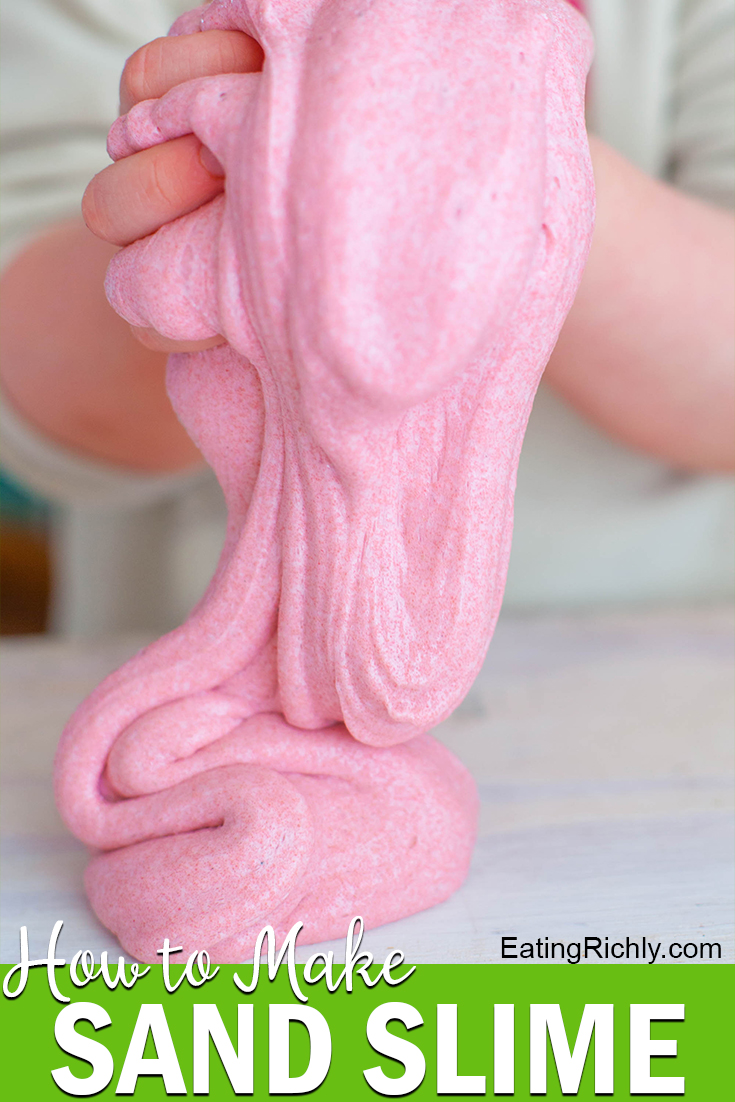
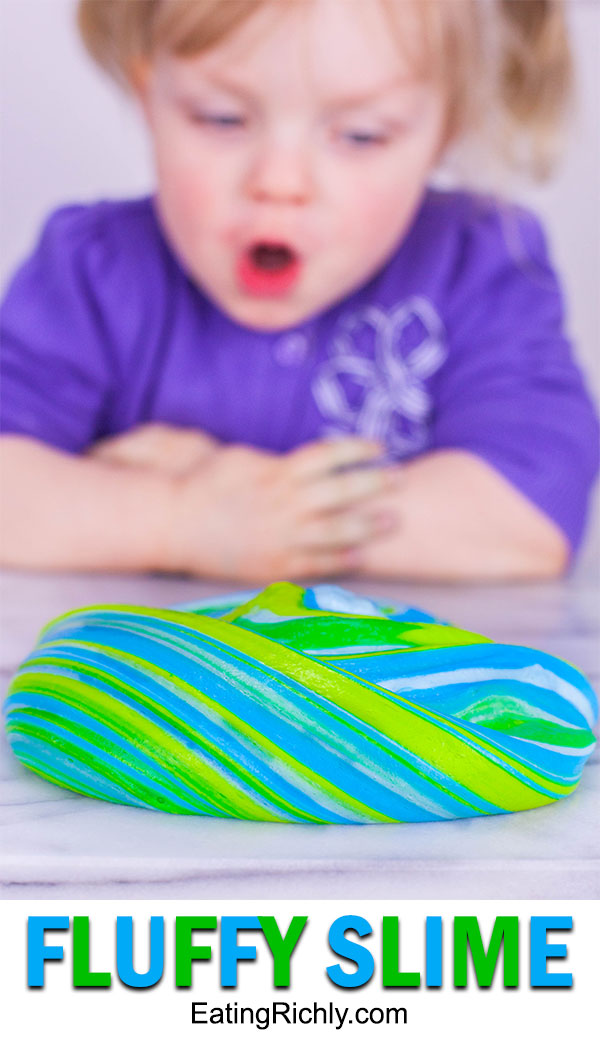
Love the glitter glue slime and want more creative slime recipes? Make sure to check out our Sand Slime Recipe and our Fluffy Slime Recipe!
SLIME FOR TODDLERS AND ORAL KIDS
If you have a toddler or a child with an oral fixation (I’ve been there for both!), you may not want them to make this glitter glue slime. Instead, check out our Toddler Goop recipe. It’s completely safe if they decide to give it a taste.

PIN TO SAVE GLITTER GLUE SLIME FOR LATER!
Make sure to pin this post so you can find the instructions any time you need them! If you make your own glitter glue slime, we’d love to see a picture. You can leave it in the comments of the pin!
PRINTABLE GLITTER GLUE SLIME RECIPE
Glitter Glue Slime
Ingredients
Instructions
- Empty the bottle of glue into a bowl.
- Add liquid starch.
- Use a stir stick or fork to mix together as well as you can.
- Remove from the bowl and knead with your hands until starch is completely absorbed and slime is smooth.
