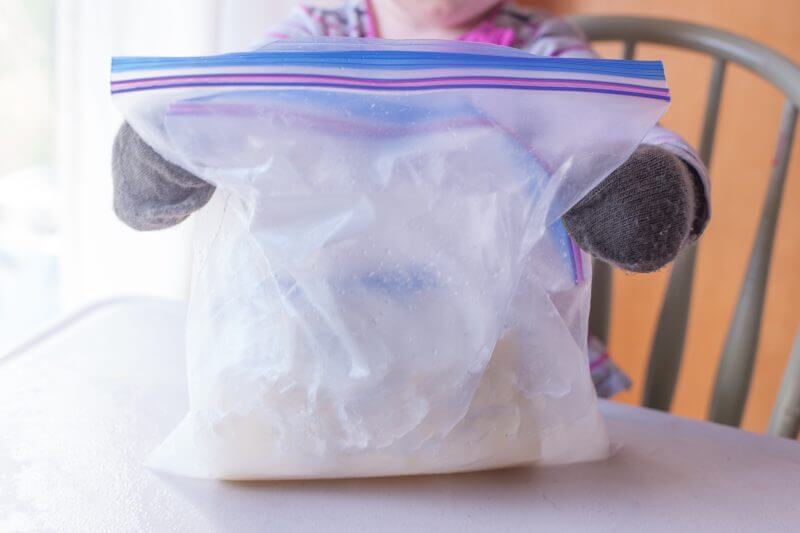
Homemade bag ice cream is a fun edible science project that kids of all ages will love making as much as they love eating!
THE SCIENCE OF HOMEMADE BAG ICE CREAM

Your kids can enjoy this magic at home, and you can easily turn it into a bit of a science lesson at the same time. Mom win!
If you want to make it a true experiment, make one bag with ice and coarse salt, and the other with just plain ice.
Help your children observe that the bag with the salt is much colder, and freezes the ingredients to make ice cream, while the bag without salt leaves the ingredients liquid.
The science behind the homemade bag ice cream is that salt lowers the melting point of ice.
This means that the water of the melting ice in the bag with salt, is cold enough to freeze the ingredients into ice cream. The bag without salt has the ice getting warmer as it melts, so the water in that bag is not as cold and cannot freeze the ingredients.
SUPPLIES FOR HOMEMADE BAG ICE CREAM
By clicking one of these links, we get a small commission on anything you buy from Amazon, without it costing you any extra. Thanks for supporting our family business!
HEALTHY OPTIONS FOR HOMEMADE BAG ICE CREAM
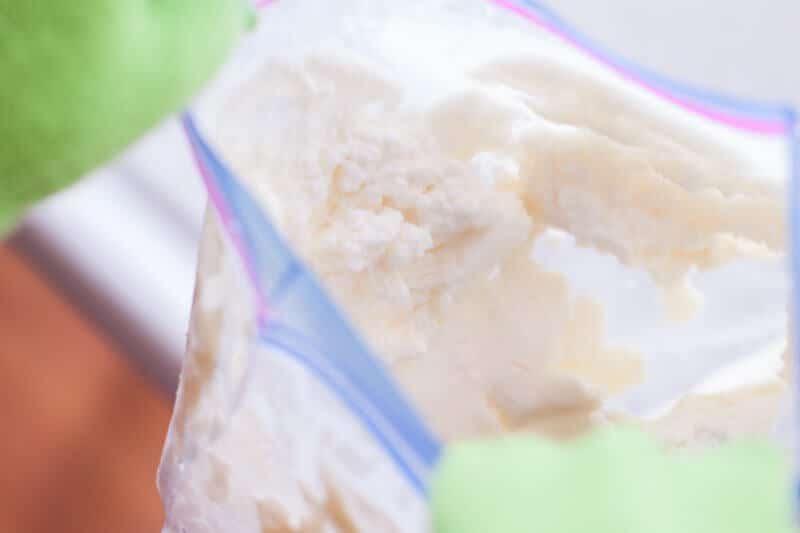
We choose to really limit desserts, and have ice cream as a once in a while treat. Because it’s used in moderation, we use an organic dehydrated cane juice, which is basically sugar, though better for than environment than the processed white stuff.
But an even healthier option, especially if your family is low-carb, is to use a sugar substitute. Swerve is a sugar substitute that you can sub one for one (meaning one tablespoon of Swerve for one tablespoon of sugar). I’ve been playing with it and plan to write more about it in the future, as we continue to explore ways to help our family live a healthy lifestyle.
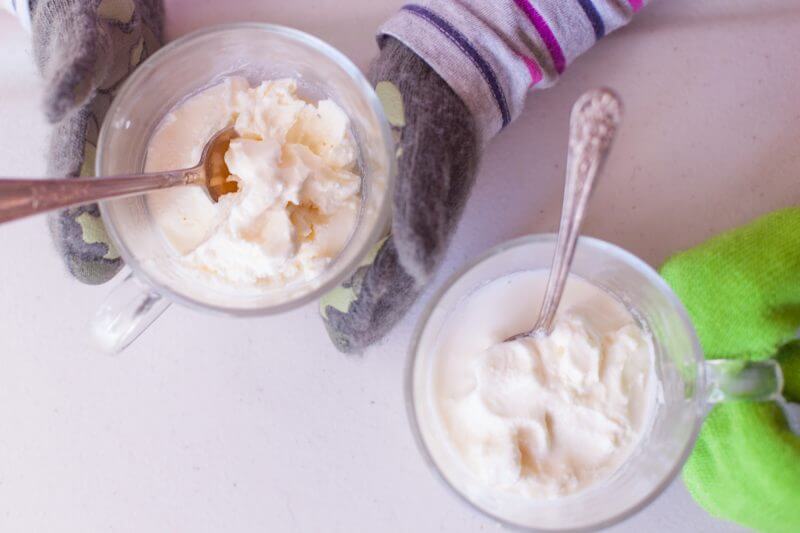
Do you have a favorite sugar substitute? We’d love to hear about it! Feel free to leave a comment here, or on the Facebook video.
TIPS FOR MAKING HOMEMADE BAG ICE CREAM

The most important tip is to protect your hands! Our kids loved busting their mittens out in the middle of summer. You could also use a towel, or oven mitts. Just make sure to use something so little hands don’t get burned by the freezing temperature of the outer bag.
Also, make sure the bag of ice cream ingredients are surrounded by ice. You will need the outer bag filled at least half full of ice.

Finally, younger children probably won’t be able to shake the bag long enough to freeze their homemade bag ice cream. Be ready to help them as they get tired.
Your toddler will be just as excited to watch you do a little shaking dance as they are to shake it themselves!
PIN TO SAVE HOMEMADE BAG ICE CREAM FOR LATER:
Homemade Bag Ice Cream Recipe

Homemade bag ice cream is a fun edible science project that kids of all ages will love making as much as they love eating. Make sure to use mittens or a towel so little hands don't get freezer burn! You can also sub your favorite ice cream recipe and simply use the homemade bag ice cream method. (Adapted from Food.com)
Ingredients
- 1/4 cup sugar or sugar substitute
- 2 teaspoons vanilla extract
- 1/2 cup whole milk
- 1 1/2 cups heavy cream
- 4 gallon zip top bags
- ice
- 2 cups coarse salt, like rock salt or kosher salt
- 4 quart zip top bags
Instructions
- In a large bowl or glass measuring cup, mix together the sugar, vanilla extract, and whole milk, until the sugar is completely dissolved.
- Fill each gallon zip top bag half full with ice, then add 1/2 cup of salt to each bag of ice. Make sure to use a coarse salt, not table salt.
- Divide the ice cream mix between the quart bags, and seal well, pressing the air out as you seal them.
- Tuck the ice cream bags into the ice, getting them surrounded by it, then seal the gallon bags, again pressing the air out.
- Using mittens or other hand protection, shake the bags for a few minutes. You can periodically feel the inner bag to see if it is freezing.
- Once the ice cream mix has frozen, unseal the ice bag and pull out the inner bag. Carefully wipe the inner bag with a towel before opening it so you don't get salt water on your ice cream as you scoop it out.
Nutrition Information:
Yield:
4Serving Size:
4 cupsAmount Per Serving: Calories: 380Saturated Fat: 21gCholesterol: 125mgSodium: 47mgCarbohydrates: 16gSugar: 14gProtein: 2g
WANT MORE SCIENCE EXPERIMENTS FOR TODDLERS AND PRESCHOOLERS?
HERE ARE SOME OF OUR FAVORITES:

