
Wondering how to make kinetic sand? This kinetic sand recipe uses just 3 ingredients to make a soft, moldable sand that provides hours of sensory play time.

(This post contains affiliate links. If you purchase anything on Amazon from one of these links, we get a small commission but you don’t pay anything extra. Thanks for supporting our family business!)
WHAT IS KINETIC SAND?
Kinetic sand is basically sand that has other ingredients added to make it soft and crumbly like fine beach sand, but also able to hold its shape when squeezed in a mold.

This makes kinetic sand a lot of fun for kids to dig in like a sandbox, but they can also press it in their hands, cookie cutters, or other containers like candy molds.
You can buy all sorts of fun kinetic sand kits or moon sand kits online and in stores. But it’s easy to make your own kinetic sand, and then you can make as big a batch as you want.
There are several different types of kinetic sand you can make. Some use dish soap and water. Others are more of a sand slime. But my kids favorite kinetic sand recipe just uses colorful sand, cornstarch (or flour), and oil.
HOMEMADE KINETIC SAND RATIO
To make this kinetic sand recipe, just remember the ratio 5:3:1. That way, whether you have a measuring cup, or just a little container or scoop, you can get the ratio right.
It’s 5 parts sand, to 3 parts cornstarch (you can also sub flour for the cornstarch), and 1 part oil.

The recipe below uses a 1/2 cup measuring cup. So it’s 2 1/2 cups (5 scoops) of sand, 1 1/2 cups (3 scoops) of cornstarch, and 1/2 cup (1 scoop) of oil.
KINETIC SAND RECIPE SUPPLIES

SAND
You can use any variety of sand for your diy kinetic sand. Play sand from the hardware store works great, as does fine beach sand. We like to buy craft/decorators sand in different colors as the bright colors add to the sensory experience.
CORNSTARCH
I prefer cornstarch because it is so silky. But in a pinch you can also make kinetic sand without cornstarch by using flour.
OIL
You can use any oil you like for kinetic sand. Cooking oil, baby oil, or mineral oil. We went with canola oil because I had a big jug of it that I rarely use.
HOW TO MAKE KINETIC SAND

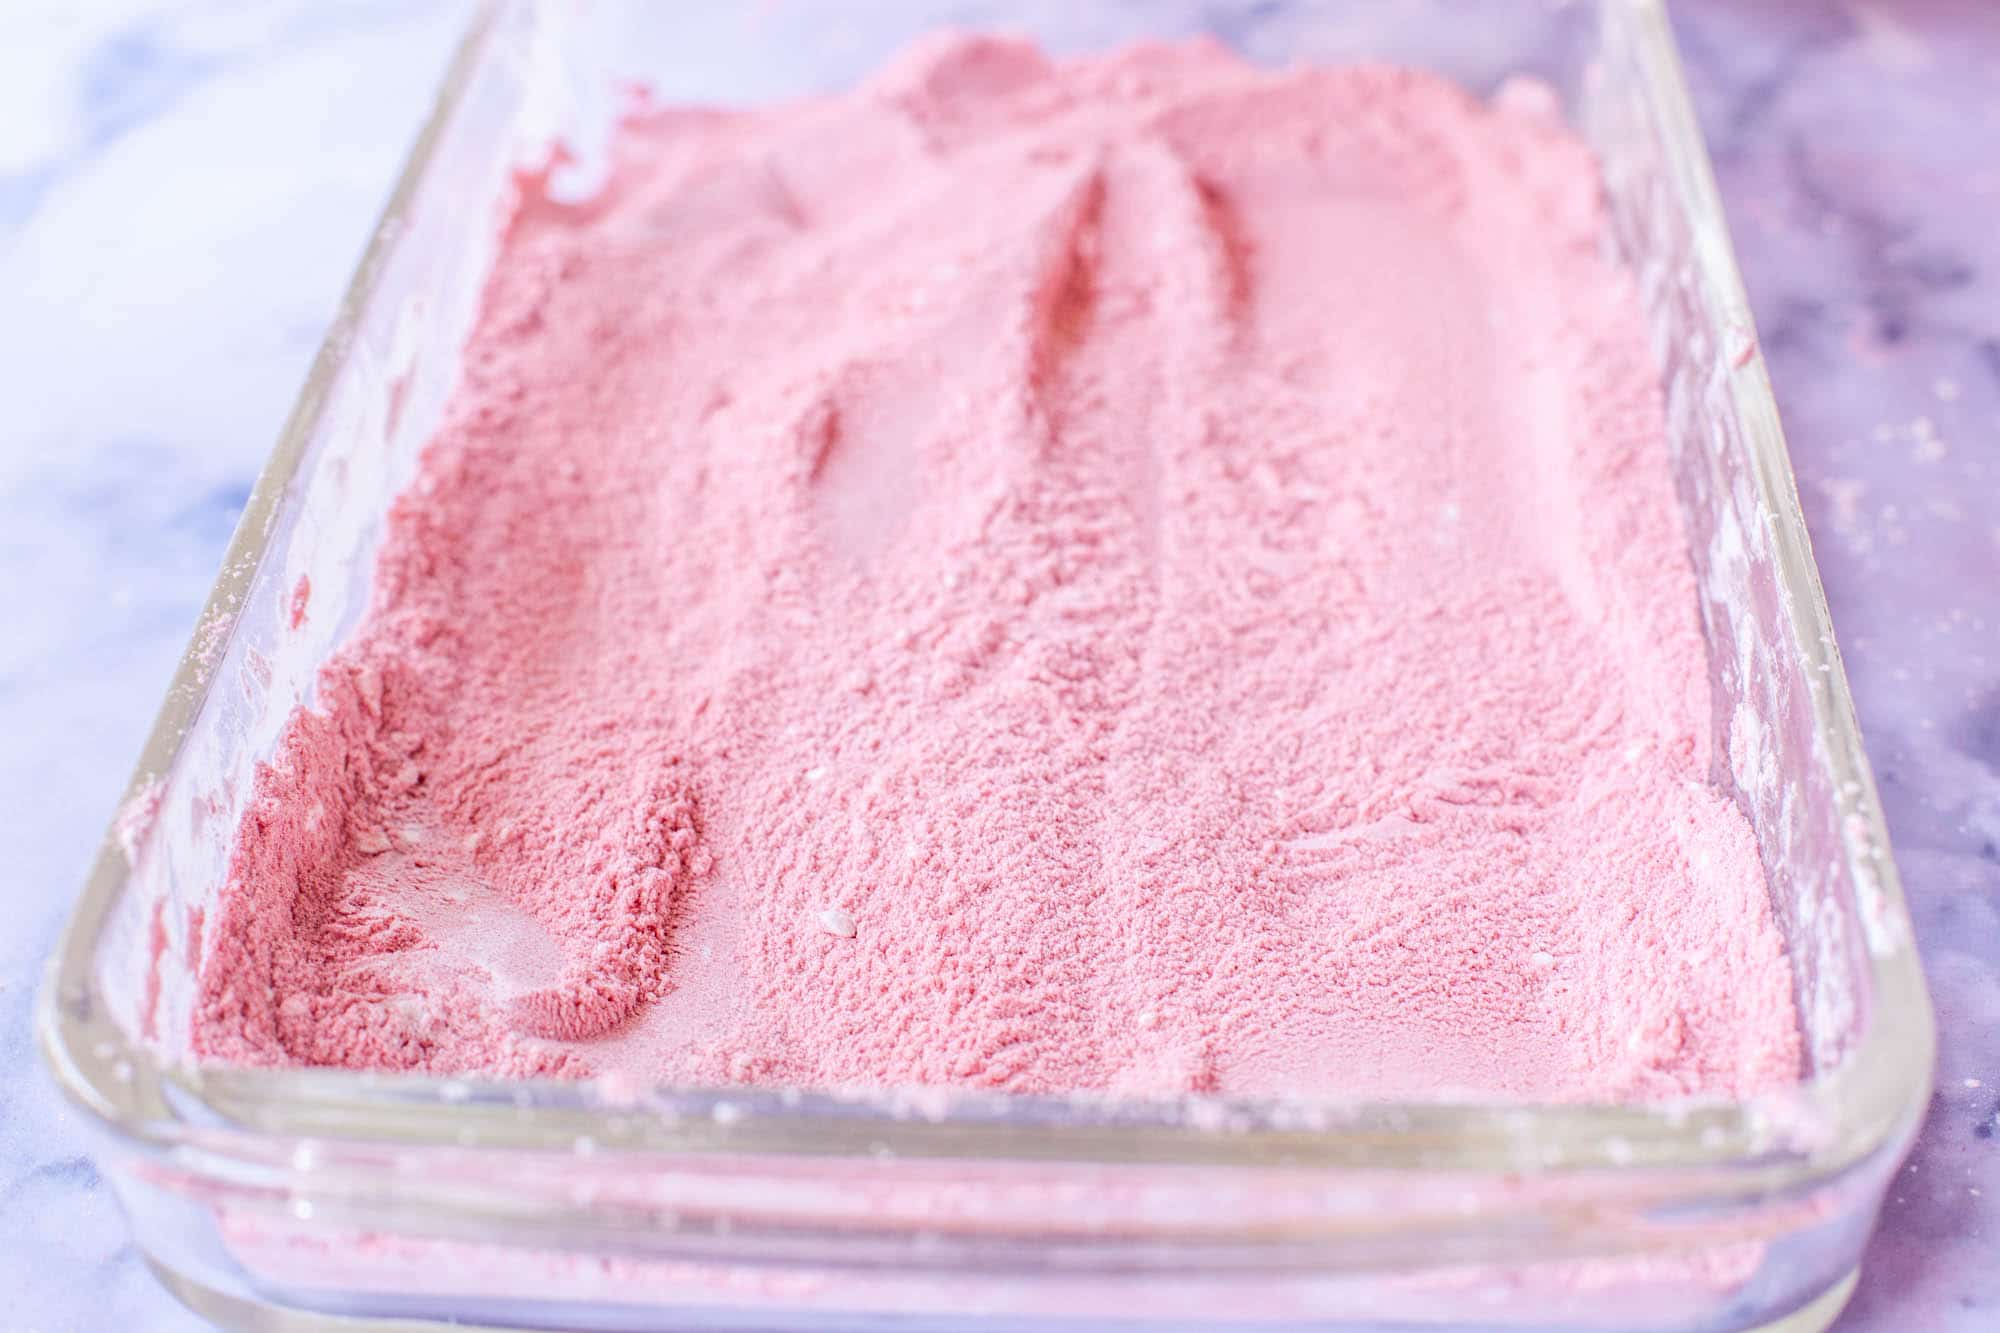
Decide what kind of container you want for your kinetic sand (we used a glass casserole dish), and pour 5 scoops of sand into it.

Pour in the cornstarch.

Mix the sand and cornstarch really well until completely incorporated.

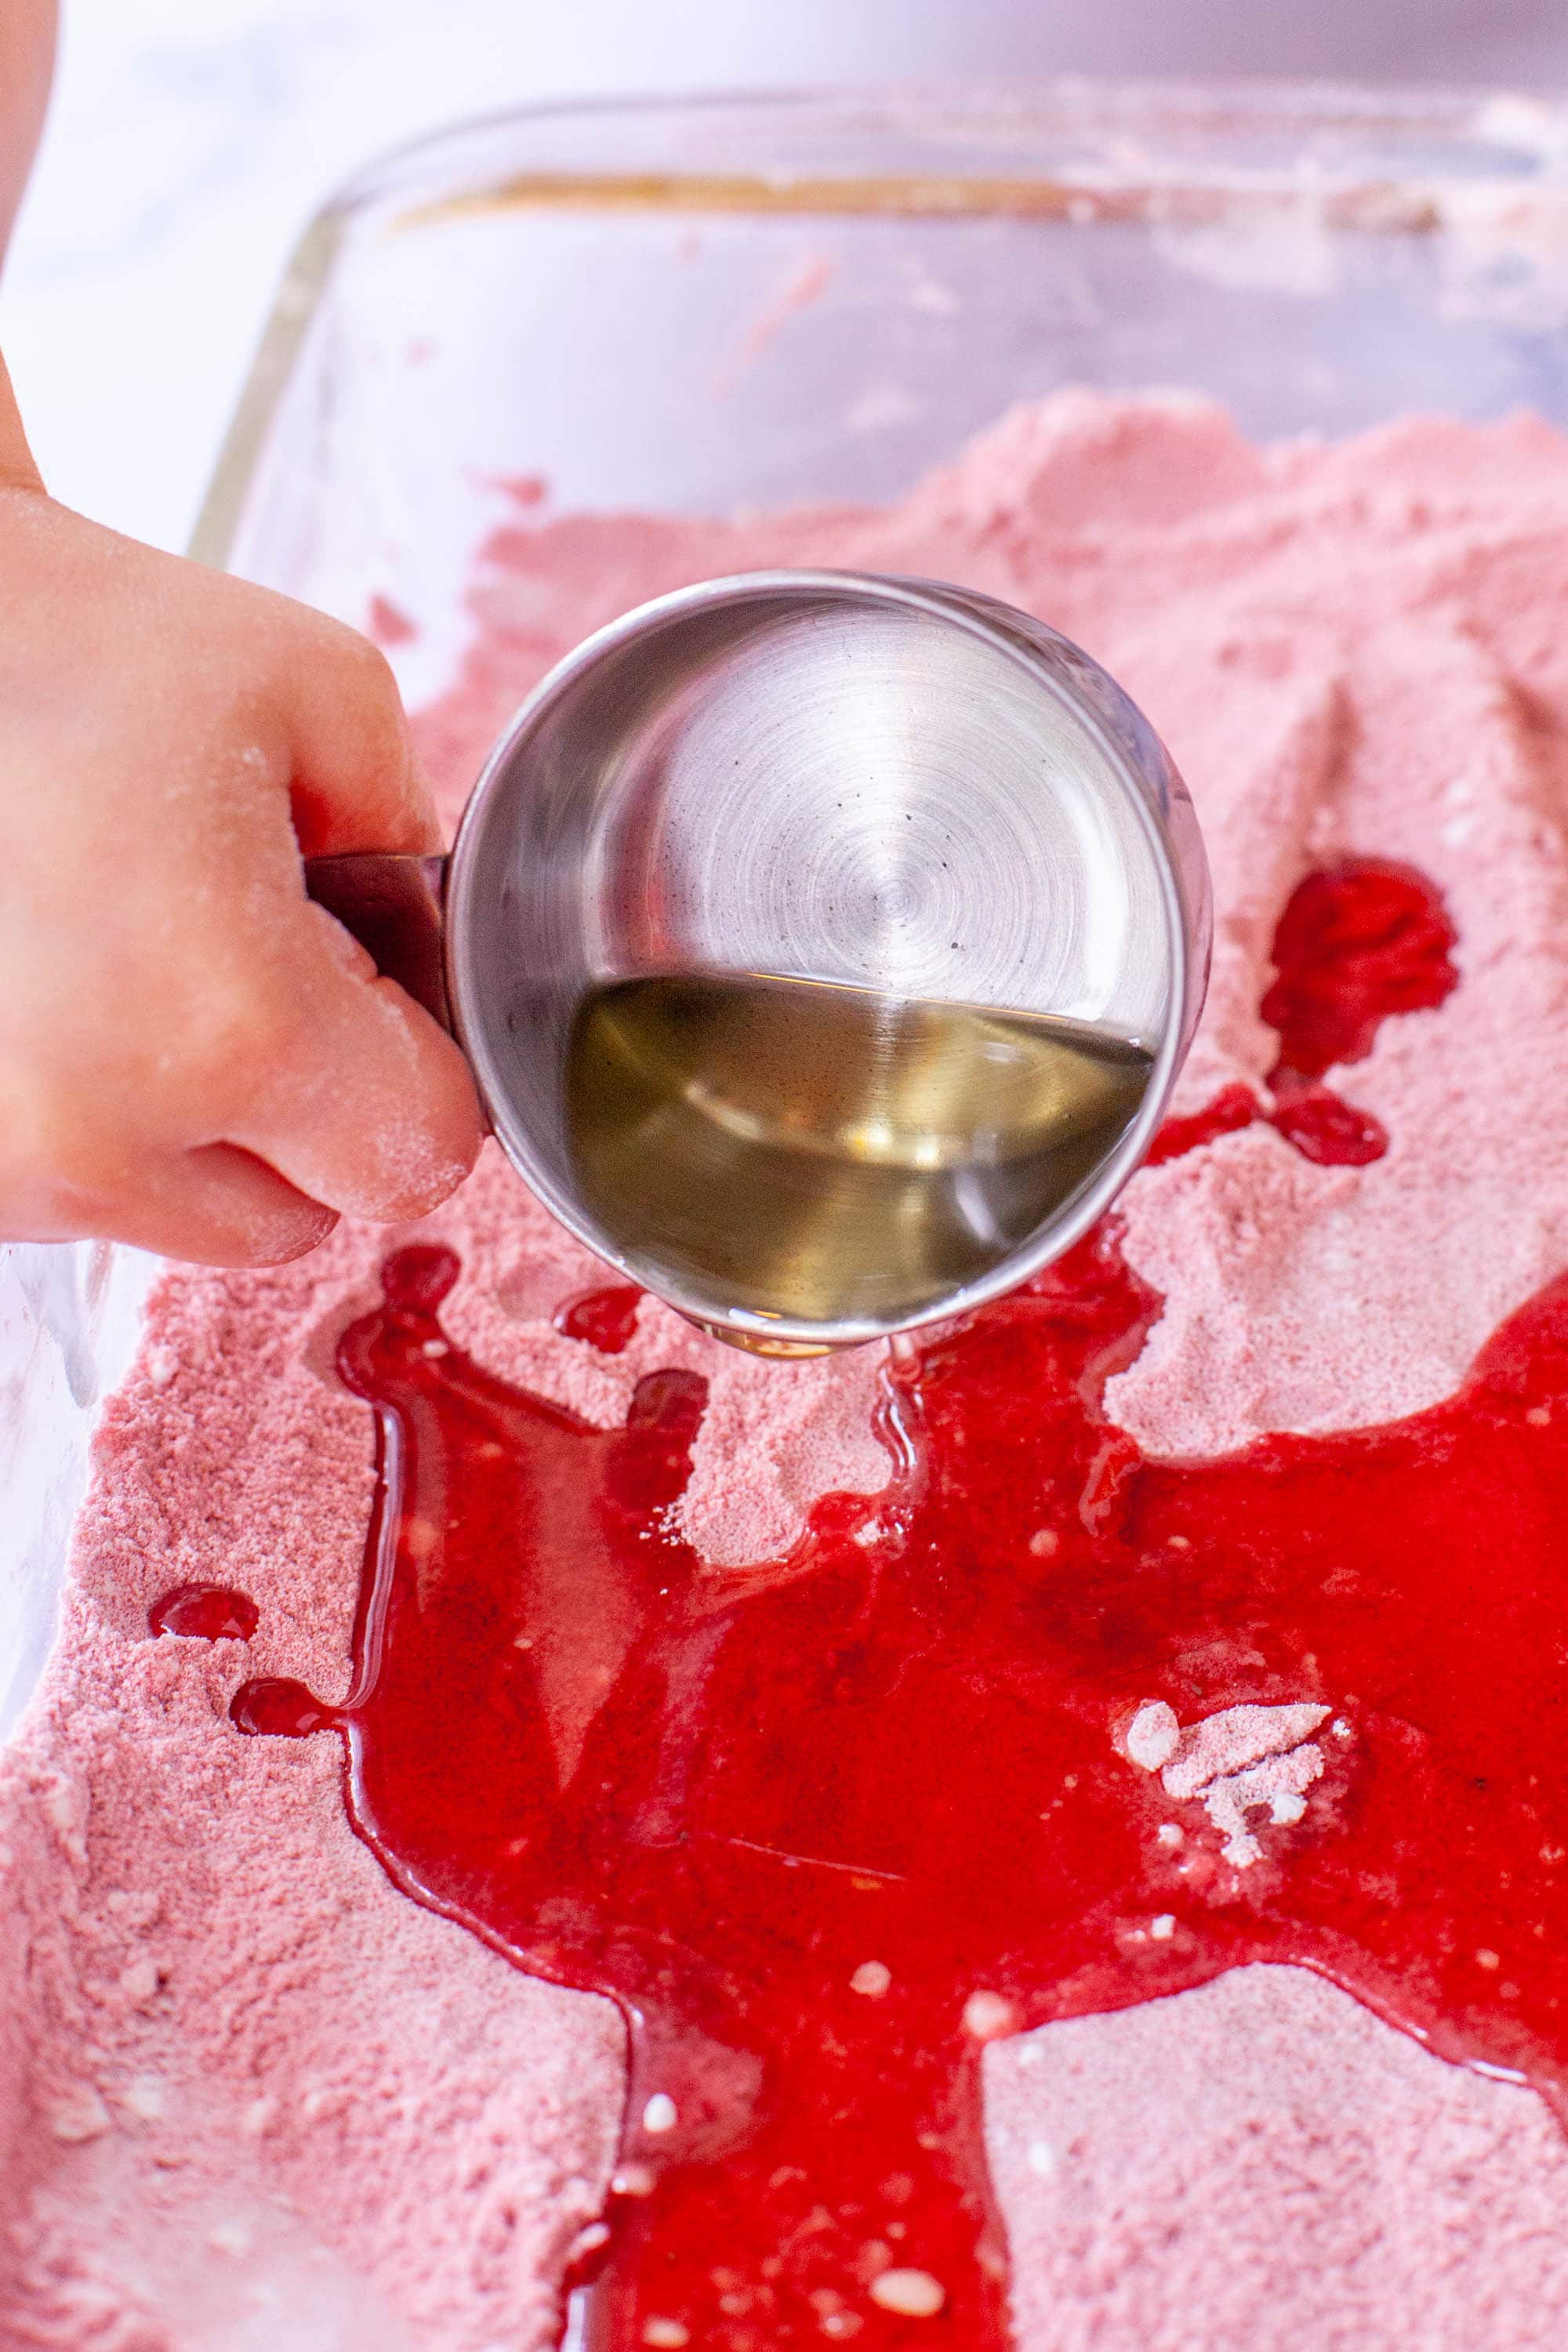
Now pour in the oil.

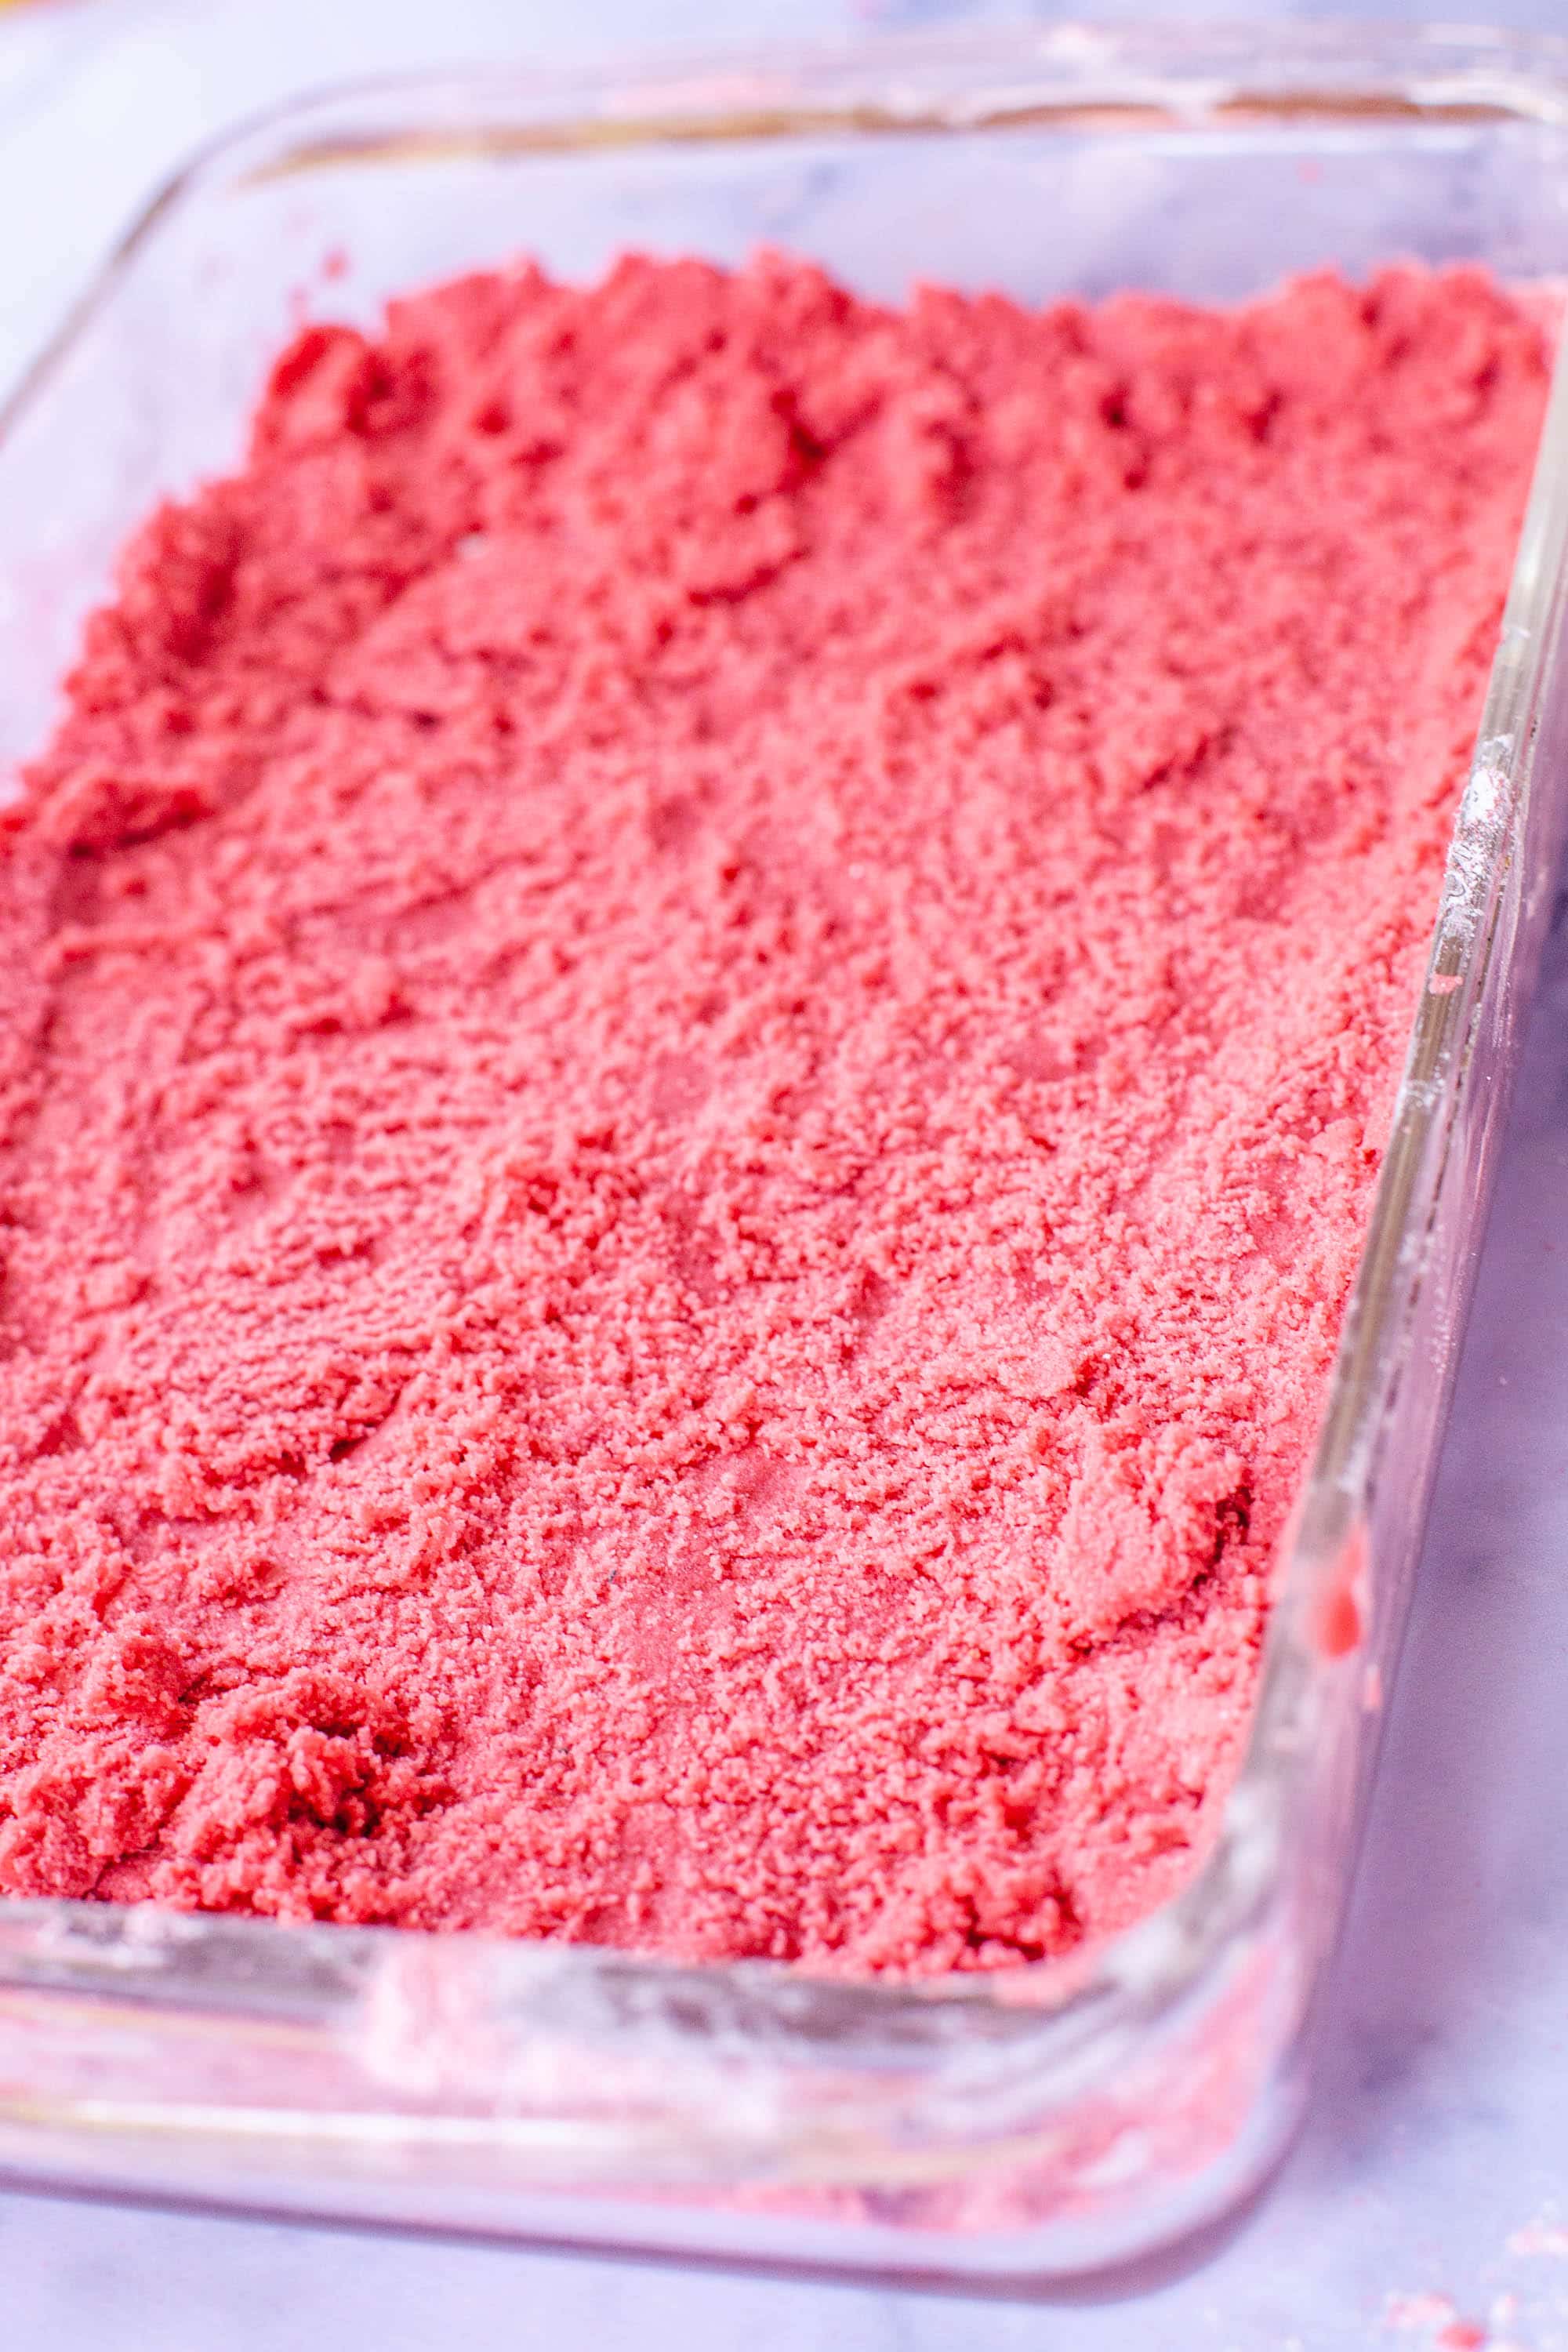
Mix again, until there are no oily spots or dry spots.

Play in the sand with hands, scoops, shovels, cups, spoons, cookie cutters, and more!
MORE SENSORY ACTIVITIES
If you’re looking for sensory activities, check out our Toddler Goop Recipe, Slime Recipe, and Shaving Cream Sensory Painting.
PIN TO SAVE:
Make sure to pin this kinetic sand recipe so you don’t lose it! If you make your own kinetic sand, we’d love to see a picture. You can post it in the comments of the pin!

Kinetic Sand Recipe

Wondering how to make kinetic sand? This kinetic sand recipe uses just 3 ingredients to make a soft, moldable sand that provides hours of sensory play time. Feel free to substitute flour if you don't have cornstarch. We used canola oil but you can also use olive oil, mineral oil, or baby oil. You will need to add food coloring if you are not starting with colored sand.
Ingredients
Instructions
- Mix sand and cornstarch together completely.
- Add oil and mix well.
- When there are no oily spots and no dry spots, the sand is ready for play time!

Notes
If you wish to make this more like moon sand, you can mix in 1 tablespoon of dish soap at a time.
Nutrition Information:
Serving Size:
1 ServingsAmount Per Serving: Calories: 0

Thank you for this recipe! The dollar store sells decorative colored sand so I’ll be able to make colorful sand on the cheap! Thank you!
Thank you so much sharing this recipe with all of us… My grandchildren and I had a great time playing with this sand…
I’m so happy to hear that!
This most definitely works, but doesn’t behave completely like true kinetic sand does. Thank you though!
I can’t get it to stick together!?! Do you know how to fix it? I am afraid to add too much extra oil!
Just keep adding a little oil at a time. It will stick! If you add too much you can always add a little cornstarch.
I am working in a pre-school for Head Start. How long does the sand last? When would you need to dispose of it?
Head start is a wonderful program! We keep ours for months in a sealed container. It’s more a matter of how messy it gets from kids playing with it. Just give it a sniff from time to time to make sure it doesn’t have any odor indicating bacteria.
How to make kinetic sand easy recipe
Hi,
Your recipe looks terrific, about to try making it. Would I be able to add food color to the oil to color the sand?
That’s a great idea. I haven’t tried it myself but I think it’s worth a shot.
May I ask if you just add one tablespoon of dishsoap to your three ingredient recipe to make it moon sand like? I had tried other recipes using dish soap and water but the sand is super wet and sticky (even after leaving for few hours)… thank you!
This worked great for us! We used regular play sand, potato starch and a mix of olive and baby oil. Love the texture and the kiddos are having a great time playing with it! It was fun for my son to mix up. Thanks for the great, easy recipe!
can you use ashland sand to make this it’s all I have on hand
I think it may be too coarse. The craft sand I use is very fine. But you could try!
Tried this recipe and after a few weeks it’s covered in mold even in a sealed container. Any way to prevent this?
I’m so sorry Amanda! I haven’t had that happen before. What sand did you use? Any chance it had moisture in it? Any water content will definitely provide an environment for mold.
We added a few squirts of hand sanitizer to keep it fresh. It does go bad quickly with all the germy fingers in it so we have also kept it in the fridge. We also add less oil and include cheap cream rinse for good smell. Hope it helps!
I would put onè table spoon of anti bacterial dish soap in with the mix like dawn antibacterial dish soap and it should help u keep ur kinetic sand safe and clean for a long time with no bacteria able to take place and most definitely not gave a problem of any fowl orders or smells it should realy help keep ur kids safe and keep ur kinetic sand clean and safe for a very long time it’s a definite solution to the problems u all were saying u were having so when u use the dish soap with the mixture make sure ur dish soap says antibacterial on the bottle and ur good to go
Great idea. Thanks Casey!
Can’t wait to try this. Any thoughts on adding a few drops of tea tree oil to help keep it sanitary?
I think that’s a great idea!